Rock tumbling is one of the most rewarding ways to bring out the hidden beauty of agates, jaspers, and other quartz-family stones. With patience and the right process, even the dullest rough can become a glassy, glowing keepsake.
This guide walks you through the complete four-stage tumbling process, from coarse grind to final polish, with the run times, grit amounts, and water levels you need at each step.
Basic Setup
Before you start any stage, get the fundamentals right:
Fill the barrel 1/2 to 3/4 full of rocks. You can add ceramic or plastic media to reach this level and to cushion the load.Add water so it just reaches the bottom of the top layer of rocks. All rocks should be wet, but not deeply submerged or floating.As a general rule, use 1–2 tablespoons of grit per pound of rock in the barrel. (Example: for 2 lb of rock, use about 2–4 tablespoons of grit.)For very small barrels, a simple rule is 2 tablespoons of grit per pound of rock, and water to just below the top of the rocks.
Stage 1 – Coarse Grind
Purpose: Shape the rocks and remove sharp edges and major pits.
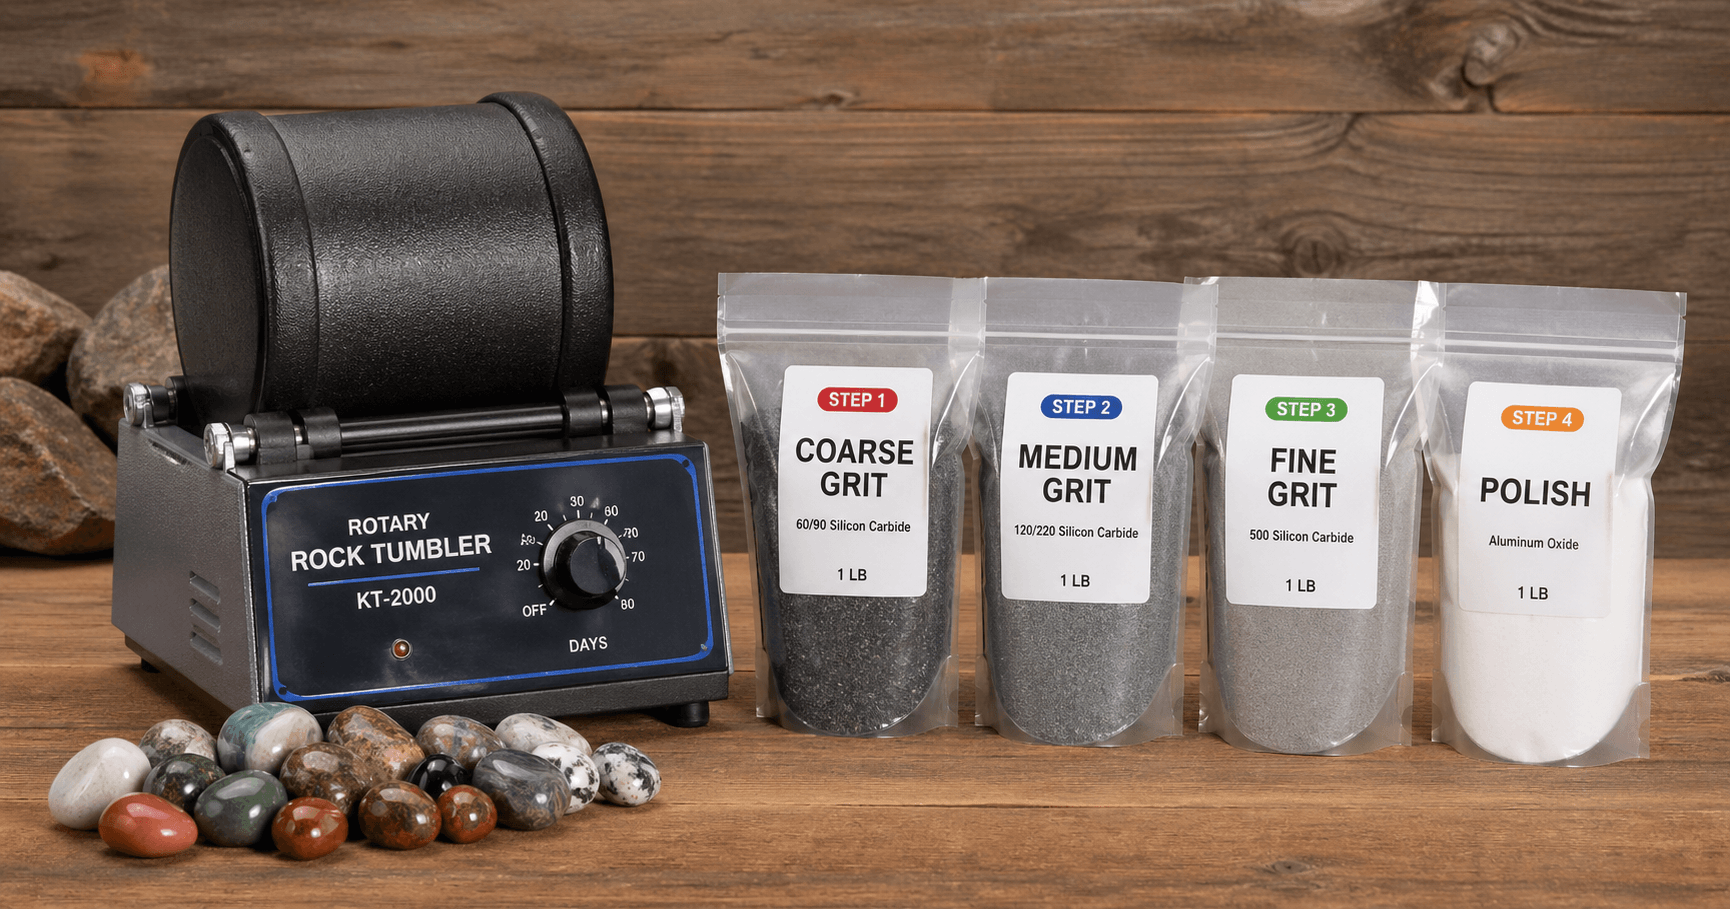
Grit: Coarse silicon carbide, usually 60/90 or 80 grit.Barrel load: 1/2 to 3/4 full of rocks and optional ceramic media.Water: Add water until the level is just at or slightly below the top layer of rocks. Peaks of rocks can stick out of the water.Grit amount: About 1–2 tablespoons of coarse grit per pound of rock.Run time: 7–10 days per run. Many people repeat Stage 1 for 1–3 weeks total until the rocks are nicely rounded and most pits are gone.End of Stage 1
Pour the contents into a bucket or colander.Rinse rocks, barrel, lid, and seal thoroughly so no coarse grit remains.Never pour used grit down household drains; dispose of it outside or in a container.
Stage 2 – Medium Grind
Purpose: Remove scratches from Stage 1 and further smooth the rocks.
Grit: Medium silicon carbide, typically 110/220, 150/220, or 220 grit.Barrel load: Refill to about 2/3 to 3/4 full with cleaned rocks. Add ceramic or plastic media if needed to reach this level and keep the load cushioned.Water: Fill with water until it reaches just at or just below the top layer of rocks, same as Stage 1.Grit amount: About 1–2 tablespoons of medium grit per pound of rock.Run time: About 7 days. Check after about 3 days if you like, then continue the full week. Extend a few more days if you still see noticeable scratches.End of Stage 2
Rinse rocks, barrel, lid, and seal very thoroughly.Make sure no medium grit remains before moving to Stage 3.
Stage 3 – Fine Grind / Pre-Polish
Purpose: Create a very smooth, satin finish before the polish stage.
Grit: Fine silicon carbide, often 400 or 500 grit, sold as "fine" or "pre-polish."Barrel load: Keep barrel about 2/3 to 3/4 full of cleaned rocks and pre-tumbled ceramic media. Avoid sharp new ceramic in this stage.Water: Same as earlier stages – water level just at or slightly below the top layer of rocks.Grit amount: About 1–2 tablespoons of fine grit per pound of rock.Run time: About 7 days. Extend if you still see fine scratches or dull spots.End of Stage 3
Rinse rocks, barrel, lid, and seal extremely well.Any leftover fine grit can contaminate the polish stage, so be thorough.
Stage 4 – Polish
Purpose: Produce the final glossy shine on the stones.
Polish: Aluminum oxide or cerium oxide polish (often labeled "Step 4 polish" for rock tumblers).Barrel load: 2/3 to 3/4 full of very clean rocks and pre-tumbled ceramic media.Water: Again, fill water to just at or just below the top layer of rocks.Polish amount: About 1–2 tablespoons of polish per pound of rock.Run time: Typically 7–10 days, depending on how shiny you want the stones.End of Stage 4
Rinse the polished stones thoroughly.Rinse the barrel and media well so no polish residue remains.Optional Burnishing (Recommended)
After polishing, you can run a short "cleaning" or "burnish" cycle.Place the polished stones and media back in the barrel.Add clean water and a small squirt of mild dish soap or a tablespoon of borax.Run for several hours to a full day.Rinse everything again and let the stones dry to see the final shine.
Quick Reference Table
Use this as a fast checklist for a typical rotary tumbler load of average hardness stones (agate, jasper, quartz).
Stage 1 – Coarse Grind
Abrasive: Coarse silicon carbideGrit size: 60/90 or 80Barrel fill: 1/2–3/4 fullWater level: To just below the top layer of rocksGrit amount: 1–2 tablespoons per pound of rockTypical run time: 7–10 days (repeat as needed)Stage 2 – Medium Grind
Abrasive: Medium silicon carbideGrit size: 110/220 or 220Barrel fill: 2/3–3/4 fullWater level: Same as Stage 1Grit amount: 1–2 tablespoons per pound of rockTypical run time: About 7 daysStage 3 – Fine Grind / Pre-Polish
Abrasive: Fine silicon carbideGrit size: 400–500Barrel fill: 2/3–3/4 fullWater level: Same as Stage 1Grit amount: 1–2 tablespoons per pound of rockTypical run time: About 7 daysStage 4 – Polish
Abrasive: Polish (aluminum oxide, cerium oxide, etc.)Grit size: Polish – no grit numberBarrel fill: 2/3–3/4 fullWater level: Same as Stage 1Polish amount: 1–2 tablespoons per pound of rockTypical run time: 7–10 days
Notes and Tips
Only tumble rocks of similar hardness together (for example, keep agates, jaspers, and other quartz-family stones together).Make sure the lid and seal of the barrel are clean before closing to prevent leaks.Check the tumbler every day or two to be sure it is running normally and not overheating or leaking.Always dispose of used grit and slurry outside or in a container, not down household drains.Love Agates Tip: Tumbling rewards patience more than power. The cleaner you keep each transition, the more brilliantly your stones will shine at the end.
Happy Tumbling!